How to send Emails in Next JS for Free using Resend

Mridul Panda
Nov 10, 2023
·7 Min Read

Sending emails in web applications is a crucial feature, and in this article, we will explore how to send Emails in Next JS for free using Resend. Next JS is a popular framework for building React applications, and Resend is a handy tool for email integration. By the end of this guide, you’ll have the knowledge and confidence to implement email functionality in your Next JS projects without incurring additional costs.
Setup Resend to send Emails in Next JS
Email is changing for developers thanks to Resend. Easy connections, a simple UI, and helpful templates. It has a nice free tire as well.
Sign up in Resend for free
Resend allows you to send 3000 emails monthly for free. You can also add one domain for free. Let’s look at the Pricing table of Resend
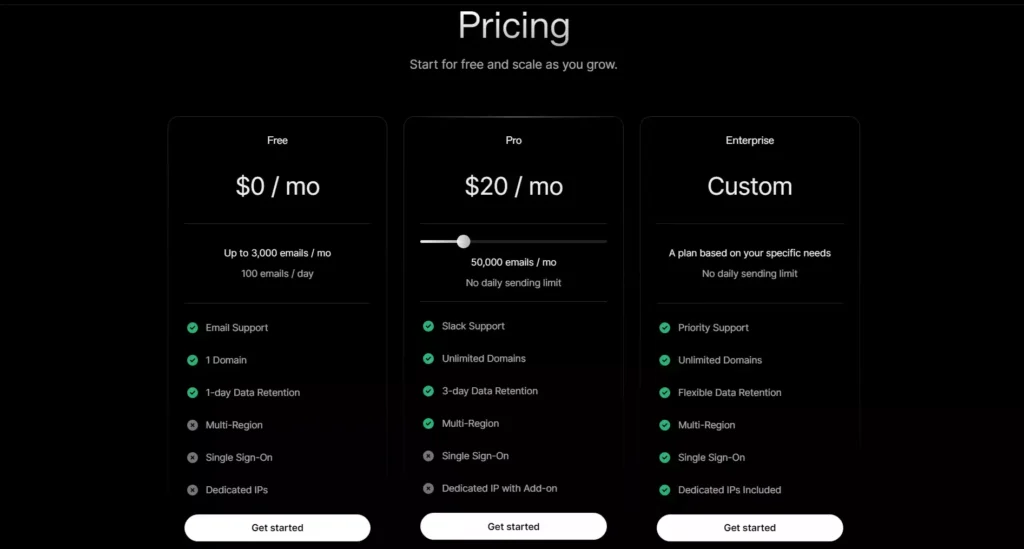
We will choose the free tier here, which will allow us to add one custom domain and send 3000 emails per month. So click on Get Started under the free tier. Sign up with Email or GitHub.
Also Read: How to Generate Sitemap in Next JS?
Add your domain in Resend
After signing up you will be redirected to the overview page. And you need to create an API key. But before that, we will add a custom domain. So that we can send emails from our custom email like contact@yourdomain.com.
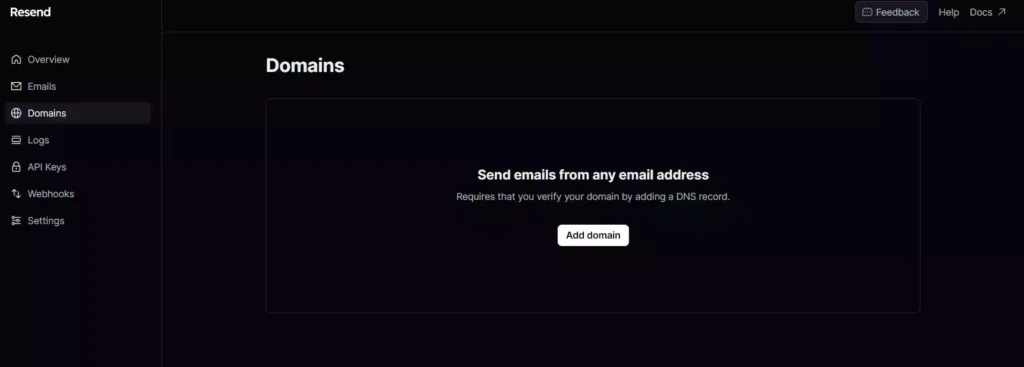
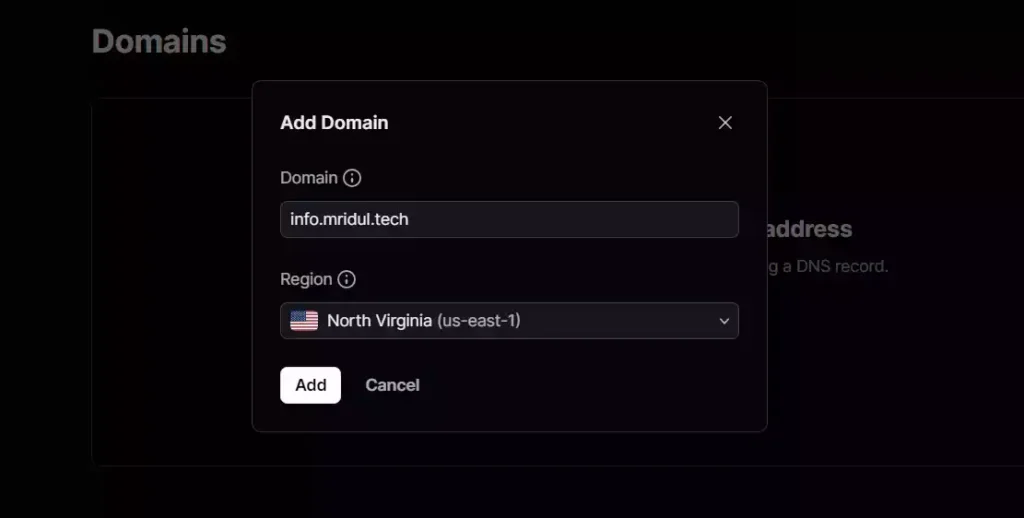
Click on Add Domain and add your domain. For this tutorial, I am adding my domain info.mridul.tech. Keep the region as it is.
Now you need to verify your domain via DNS records. Copy all 3 DNS records provided by Resend and add them. After adding click on Verify DNS records and that’s it. After the DNS records are verified you will be able to send emails from your custom mail Address.

Create a New Resend API Key
After your DNS records are verified, add a new API key. Go to overview and click on add API key. You will get the API key. Copy that API key and save it somewhere
Note: You won’t be able to view the API key in the resend dashboard again so make sure you have copied the key
Also Read: Next JS Project Ideas to Boost Your Portfolio
Next JS setup to Send Emails
Now we are done with Resend let’s set up our Next JS Project.
Getting Started with Next.js
Before we dive into the world of email sending, let’s make sure you have Next.js set up and ready to go. If you haven’t already, you can quickly get started by following these steps:
Create a New Next.js App: Create a new Next.js project by running the following command:
npx create-next-app my-email-appNavigate to Your Project: Move to the newly created project directory:
cd my-email-appSave the API Key: Create a new file in the root named .env and paste it there.
// .env

RESEND_KEY = re_xxxxxxxx
Now that you have your Next.js project set up, let’s move on to sending emails for free.
Also Read: How to Use SVG in Next JS?
Create an API to send Emails in Next JS
Now we will create an API in our Next JS app to send the email. For that, we need to install resend npm package. To install the package run the following command
npm i resendNow create a file named email.ts or email.js in the pages folder under api the folder or in the app folder of your choice. First, we have to initialize the resend with the API key we got from Resend.
// pages/api/email.ts

import { Resend } from "resend";

const resend = new Resend(process.env.RESEND_API_KEY);
Now we can send mail with the following resend function. To send the mail we have to give some values
form:which in our case will bemail@info.mridul.techto: This will be the mail which you want to send the mailsubject: The subject for the mailhtml: The content of the mail
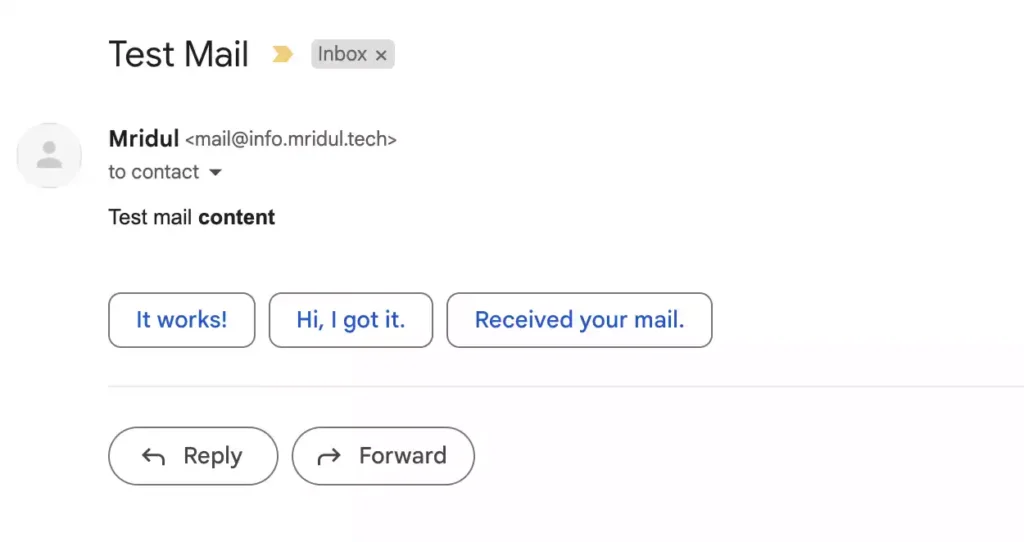
Here is an example
await resend.emails.send({
  from: "Mridul <mail@info.mridul.tech>",
  to: ["somemail@gmail.com"],
  subject: "Test Mail",
  html: "Test mail <strong>content</strong>
});
Tip: You can add from like mail@info.mridul.tech but adding it like Mridul <mail@info.mridul.tech> will give the mail a sender’s name. Which looks go actually.
Tip: if you want to send mail to multiple IDs, use resend.emails.send method. and pass an array of email is to
Here is the full code for the API Route. We are using a dynamic to email for this.
import { NextApiRequest, NextApiResponse } from "next";
import { Resend } from "resend";

const resend = new Resend(process.env.RESEND_API_KEY);

export default async (req: NextApiRequest, res: NextApiResponse) => {
  const { email } = req.body;
  const { method } = req;

  if (method === "POST") {
    if (!email) {
      return res.status(400).json({ message: "Missing fields" });
    }

    try {
      await resend.emails.send({
        from: "Mridul <mail@info.mridul.tech>",
        to: [email],
        subject: "Test Mail",
        html: "Test mail <strong>content</strong>",
      });
      res.status(200).json({ success: true });
    } catch (error) {
      res.status(400).json({ success: false, message: error.message });
    }
  } else {
    return res.status(405).json({ message: "Method Not Allowed" });
  }
};
Now our API is ready and the endpoint for our API is /api/email. And it will only accept a post request.
Create a form to send Emails in Next JS
Now let’s create a simple form which will accept an Email Submit and Let’s send an email to that email. First, clean the home page which is index.tsx and create an empty component. Here is our simple signup form.
import React, { useState } from "react";

const MailSignUp = () => {
  const [mail, setMail] = useState("");

  return (
    <div>
      <div className="flex justify-center items-center min-h-screen">
        <form className="flex items-center w-full max-w-md mx-auto">
          <input
            type="email"
            placeholder="Email"
            className="border-2 border-gray-300 rounded-l-md px-4 h-12 w-full"
            onChange={(e) => setMail(e.target.value)}
            value={mail}
          />
          <button
            className="bg-blue-500 hover:bg-blue-700 text-white font-bold h-12 px-4 rounded-r-md "
            type="submit"
          >
            SignUp
          </button>
        </form>
      </div>
    </div>
  );
};

export default MailSignUp;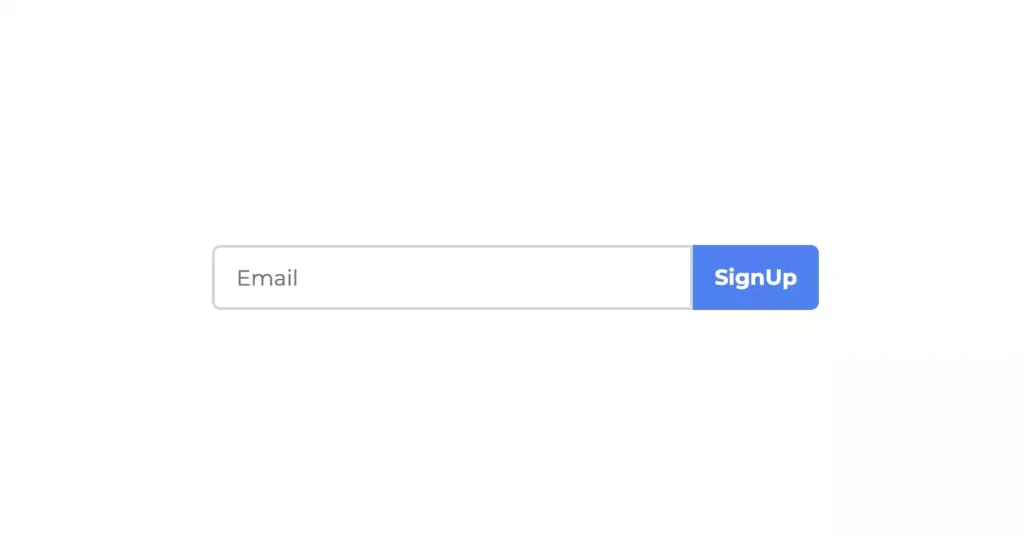
Now here is our handleSubmit function for the form. We are using the POST method to send the API request
const handleSubmit = async (e: React.FormEvent<HTMLFormElement>) => {
  e.preventDefault();
  const res = await fetch("/api/email", {
    method: "POST",
    headers: {
      "Content-Type": "application/json",
    },
    body: JSON.stringify({ email: mail }),
  });
  const json = await res.json();
  console.log(json);
};
Send Test Email in Next JS
Submit any mail that you have in the form. Now, if you check the mail inbox that you entered you will get the email.
Here is the full code for the form and the form submit.
import React, { useState } from "react";

const MailSignUp = () => {
  const [mail, setMail] = useState("");

  const handleSubmit = async (e: React.FormEvent<HTMLFormElement>) => {
    e.preventDefault();
    const res = await fetch("/api/email", {
      method: "POST",
      headers: {
        "Content-Type": "application/json",
      },
      body: JSON.stringify({ email: mail }),
    });
    const json = await res.json();
    console.log(json);
  };

  return (
    <div>
      <div className="flex justify-center items-center min-h-screen">
        <form
          className="flex items-center w-full max-w-md mx-auto"
          onSubmit={handleSubmit}
        >
          <input
            type="email"
            placeholder="Email"
            className="border-2 border-gray-300 rounded-l-md px-4 h-12 w-full"
            onChange={(e) => setMail(e.target.value)}
            value={mail}
          />
          <button
            className="bg-blue-500 hover:bg-blue-700 text-white font-bold h-12 px-4 rounded-r-md "
            type="submit"
          >
            SignUp
          </button>
        </form>
      </div>
    </div>
  );
};

export default MailSignUp;
Conclusion
Congratulations! You’ve learned how to send emails in Next JS for free using Resend. This powerful combination allows you to enhance your Next JS applications with email functionality without breaking the bank. Remember to refer back to this guide whenever you need assistance with your email integration projects.
You may also like
Types of APIs: A Complete Guide to API Categories

Aug 23, 2025
·3 Min Read
Have you ever wondered how your favorite apps talk to each other? Think about logging into a game with your Google account or paying through PayPal on an e-commerce site. That’s all possible because of APIs. They’re like digital messengers, making sure systems communicate smoothly. But did you know there are different types of APIs […]
Gemini CLI: Google’s Open Source AI Terminal Agent

Jun 26, 2025
·4 Min Read
Google has once again reshaped the future of developer productivity and AI-assisted coding by launching Gemini CLI, an open-source AI agent that seamlessly integrates the power of Gemini AI directly into your terminal. With 1,000 free requests per day, instant access to automated coding tasks, and the ability to generate images, videos, and website templates, […]
How to add Google Web Stories in Next JS

Dec 14, 2023
·10 Min Read
In the fast-paced digital world, user engagement is key to the success of any website. One effective way to captivate your audience is by incorporating Google Web Stories into your Next JS website. These visually appealing and interactive stories can make your content more engaging and shareable. In this comprehensive guide, we’ll walk you through […]
How to add Google Login in Next.js with Appwrite

Nov 01, 2023
·7 Min Read
Are you looking to enhance user authentication in your Next.js application? Integrating Social Login with Appwrite can be a game-changer. Add Google Login to your Next.js app with Appwrite. This article will guide you through the process, and practical tips to add Google Login in Next.js with Appwrite. GitHub Code: Google Login in Next.js with […]
JavaScript Project Ideas to Boost Your Portfolio

Oct 13, 2023
·3 Min Read
JavaScript is the backbone of web development, and mastering it is essential for any aspiring developer. While learning the basics is crucial, building real-world projects is the key to solidifying your knowledge. In this comprehensive guide, we’ll present a diverse range of JavaScript project ideas that cater to different skill levels and interests. These projects […]
How to Generate robots.txt in Next JS?

Oct 05, 2023
·4 Min Read
In the world of web development and search engine optimization (SEO), ensuring that your website is easily accessible and properly indexed by search engines is paramount. One essential tool that aids in this process is the creation of a robots.txt file. In this comprehensive guide, we, the experts, will walk you through the process of […]