How to Generate robots.txt in Next JS?
Mridul Panda
Oct 05, 2023
·4 Min Read
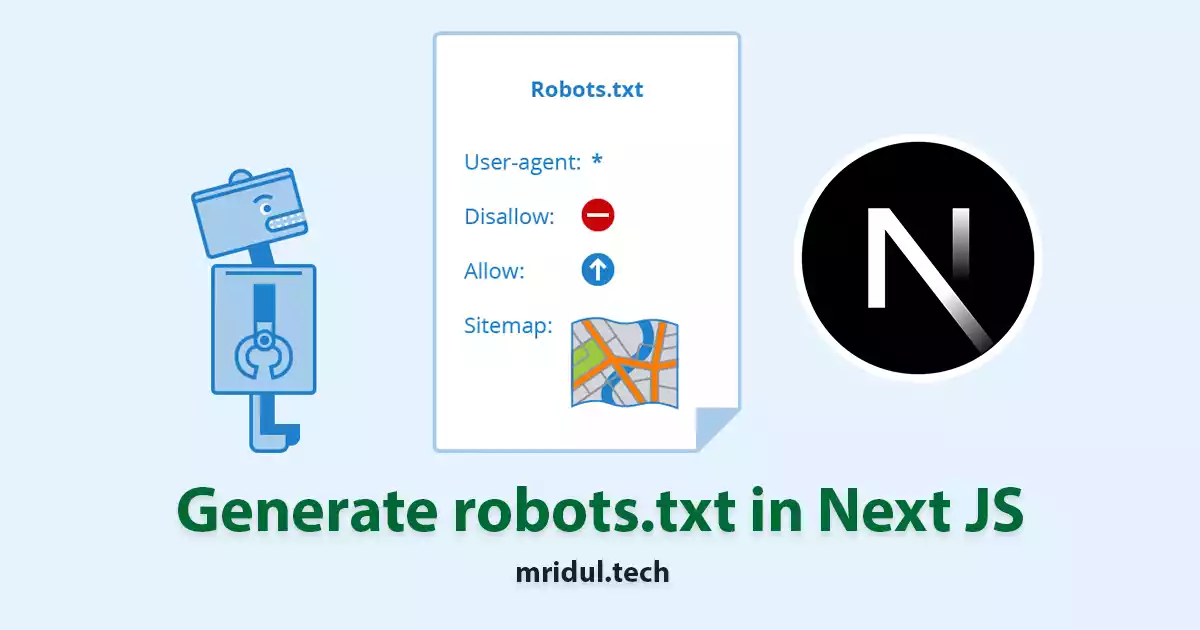
In the world of web development and search engine optimization (SEO), ensuring that your website is easily accessible and properly indexed by search engines is paramount. One essential tool that aids in this process is the creation of a robots.txt file. In this comprehensive guide, we, the experts, will walk you through the process of generating a robots.txt in Next JS website, helping you to enhance your site’s SEO performance and overall online visibility.
Understanding the Importance of robots.txt
Before we dive into the nitty-gritty details of generating a robots.txt file in Next.js, let’s first understand why it’s crucial for your website’s SEO strategy. The robots.txt file is a text file that instructs web crawlers or bots which parts of your website should be crawled and indexed and which parts should be excluded. This seemingly simple file plays a pivotal role in determining how search engines interact with your site.
How to Generate robots.txt in Next JS?
To begin the process of generating a robots.txt file for your Next.js website, you’ll need to follow these steps:
Create a New API Route for robots.txt in Next JS
In your Next.js project directory, under the pages folder create a folder named api. Under this api folder create a new file and name it robots.js. This file will create the robots.txt file and it will serve as the instructions guide for web crawlers. Define the base URL of your website; we will need it later.
// /pages/api/robots.ts

const SITE_URL = "https://www.mridul.tech";
Define robots.txt generation Function
Now we will define the robots.txt generation function. Define your robots.txt content and then we will send that in the response.
// /pages/api/robots.ts

const SITE_URL = "https://www.mridul.tech";

export default function handler(req, res) {
  const robots = ``

  res.send(robots);
}
Also Read: How to Build PWA with Next JS?
Define User Agents
Inside the robots.txt generation function file, you’ll need to specify which user agents or web crawlers you want to provide instructions for. For instance, if you want to target all web crawlers, you can use the wildcard symbol *.
// /pages/api/robots.ts

const SITE_URL = "https://www.mridul.tech";

export default function handler(req, res) {
  const robots = `
  User-agent: *
  `;
  res.send(robots);
}
Set Allow and Disallow Directives
Now, it’s time to define the rules for crawling your website. You can use the Allow and Disallow directives to control access to specific parts of your site. For example, to allow access to all parts of your website, you can use:
User-agent: *
Disallow:
If you want to block a specific directory, you can use:
User-agent: *
Disallow: /private/
Add Sitemap Information in robots.txt in Next JS
Including a reference to your website’s sitemap is considered good practice in your robots.txt file. This helps search engines discover and index your content more efficiently. The site URL we defined early will be used now. You can add the sitemap directive as follows:
const SITE_URL = "https://www.mridul.tech";

export default function handler(req, res) {
  const robots = `
  User-agent: *
  Disallow: /private/
  Sitemap: ${SITE_URL}/sitemap.xml
  `;
  res.send(robots);
}
Adding the robots.txt function in Next Config
We have defined all the robots.txt content and API in the robots.js API file. But there is one more step. We have to define this route to replace the /robots.txt path. For this, we need some changes in the next.config.js
// next.config.js

module.exports = {
  async rewrites() {
    return [
      {
        source: "/robots.txt",
        destination: "/api/robots",
      },
    ];
  },
};
Also Read: Next JS Project Ideas to Boost Your Portfolio
Test Your robots.txt in Next JS
To ensure that your robots.txt file is working as intended, you can use Google’s Robots Testing Tool. Simply enter the URL of your website and the path to your robots.txt file, and the tool will provide feedback on whether it’s blocking or allowing the desired content.
Common Use Cases of robots.txt
1. Allowing All Bots Full Access
If your goal is to allow all web crawlers unrestricted access to your entire website, your robots.txt file should look like this:
User-agent: *
Disallow:
2. Disallowing All Bots
On the other hand, if you wish to prevent all web crawlers from accessing your website, you can use the following configuration:
User-agent: *
Disallow: /
Final Thoughts
Creating an effective robots.txt file for your Next.js website is a critical step in managing how search engines interact with your content. By following the steps outlined in this guide, you can ensure that your site is properly indexed and that your SEO efforts are on the right track.
Remember, the robots.txt file is just one piece of the SEO puzzle. To achieve the best possible search engine rankings, you should also focus on high-quality content, mobile optimization, and other SEO best practices.
You may also like
Types of APIs: A Complete Guide to API Categories

Aug 23, 2025
·3 Min Read
Have you ever wondered how your favorite apps talk to each other? Think about logging into a game with your Google account or paying through PayPal on an e-commerce site. That’s all possible because of APIs. They’re like digital messengers, making sure systems communicate smoothly. But did you know there are different types of APIs […]
Read More
Gemini CLI: Google’s Open Source AI Terminal Agent
Jun 26, 2025
·4 Min Read
Google has once again reshaped the future of developer productivity and AI-assisted coding by launching Gemini CLI, an open-source AI agent that seamlessly integrates the power of Gemini AI directly into your terminal. With 1,000 free requests per day, instant access to automated coding tasks, and the ability to generate images, videos, and website templates, […]
Read More
How to add Google Web Stories in Next JS
Dec 14, 2023
·10 Min Read
In the fast-paced digital world, user engagement is key to the success of any website. One effective way to captivate your audience is by incorporating Google Web Stories into your Next JS website. These visually appealing and interactive stories can make your content more engaging and shareable. In this comprehensive guide, we’ll walk you through […]
Read More
How to send Emails in Next JS for Free using Resend
Nov 10, 2023
·7 Min Read
Sending emails in web applications is a crucial feature, and in this article, we will explore how to send Emails in Next JS for free using Resend. Next JS is a popular framework for building React applications, and Resend is a handy tool for email integration. By the end of this guide, you’ll have the […]
Read More
How to add Google Login in Next.js with Appwrite
Nov 01, 2023
·7 Min Read
Are you looking to enhance user authentication in your Next.js application? Integrating Social Login with Appwrite can be a game-changer. Add Google Login to your Next.js app with Appwrite. This article will guide you through the process, and practical tips to add Google Login in Next.js with Appwrite. GitHub Code: Google Login in Next.js with […]
Read More
JavaScript Project Ideas to Boost Your Portfolio

Oct 13, 2023
·3 Min Read
JavaScript is the backbone of web development, and mastering it is essential for any aspiring developer. While learning the basics is crucial, building real-world projects is the key to solidifying your knowledge. In this comprehensive guide, we’ll present a diverse range of JavaScript project ideas that cater to different skill levels and interests. These projects […]
Read More


