How to Generate ZIP with File Links in Next JS and React JS

Mridul Panda
Jan 22, 2023
·5 Min Read

We have an API which serves us some file data. The API includes an array of objects and each object includes a file link, file name and file format. The file can be a png, jpg or pdf. Now we want to download a zip file after clicking a button. The zip file will include all the files in the API. So Let’s Generate ZIP with file links in Next JS on in React JS.
You can find the code on GitHub. You can also check the Demo of this project.
Generate ZIP with file links in Next JS
1. First we will Create a Next JS app from starch. To create a new Next JS app use the following command. Make sure you have Node JS installed on your machine and also npm or yarn installed. And after installing the Next JS app navigate to your project directory.
npx create-next-app zip-download-next-js
#or
yarn create-next-app zip-download-next-js
cd zip-download-next-js 2. For the zip-generating process we have to install a package named jszip and for the zip-downloading process, we will install the file-saver package. So let’s install them first
npm install jszip file-saver 3. For this we are going to create our own API. Next JS can also be used to create API. This will be a simple API where we will serve an array of objects. Each object will have a name, file URL and type of file. The API file will be at /pages/api/files.js. So here is the sample API. You can use your file URLs.
// /pages/api/files.js
export default function handler(req, res) {
  res.status(200).json([
    {
      name: "laptop",
      url: "https://res.cloudinary.com/dbxcernxw/image/upload/v1674379837/Mridul.Tech%20Blog/pexels-laptop_tfnlrg.jpg",
      type: "jpeg",
    },
    {
      name: "coding-react-js",
      url: "https://res.cloudinary.com/dbxcernxw/image/upload/v1674379837/Mridul.Tech%20Blog/pexels-react-code_gkeio5.jpg",
      type: "jpeg",
    },
    {
      name: "coding-python",
      url: "https://res.cloudinary.com/dbxcernxw/image/upload/v1674379837/Mridul.Tech%20Blog/pexels-python-code_qau1ba.jpg",
      type: "jpeg",
    },
    {
      name: "coding-pdf",
      url: "https://zip-download-next-js.vercel.app/assets/photos-pdf.pdf",
      type: "pdf",
    },
  ]);
}
4. Now on our home page we are going to call this API in a useEffect and save the data with useState hook. We are calling our API /api/files in the getFiles functions and also called the function in the useEffect. After that, we are saving the response with setFiles.
import React, { useEffect, useState } from "react";

export default function Home() {
  const [files, setFiles] = useState(null);
  const [loading, setLoading] = useState(false);

  const getFiles = async () => {
    const res = await fetch("/api/files");
    const files = await res.json();

    setFiles(files);
  };

  useEffect(() => {
    getFiles();
  }, []);

  return <div></div>;
}
Also Read: 10 React Project Ideas to Boost Your Portfolio
5. Now let’s fetch the file URLs and get the files. We will map over the array and fetch each file from the object. And we can also name the files different name as well.
// /pages/index.js
import JSZip from "jszip";

const zip = new JSZip();
const remoteZips = files.map(async (file) => {
  const response = await fetch(file.url);
  const data = await response.blob();
  zip.file(`${file.name}.${file.type}`, data);

  return data;
});
6. After that we can ZIP the files with zip.generateAsync and we can also set a name for them. In this example, we have used zip-download-next-js.zip name.
Promise.all(remoteZips)
  .then(() => {
    zip.generateAsync({ type: "blob" }).then((content) => {
      // give the zip file a name
      saveAs(content, "zip-download-next-js.zip");
    });
    setLoading(false);
  })
  .catch(() => {
    setLoading(false);
  });
Also Read: Next JS Project Ideas to Boost Your Portfolio
7. Now look at the full home page code. For the download function, we have created the downloadResourcesOnClick function. All the file fetching and downloading stuff are here. We have added one button in the UI and the onClick for this button is the download function.
import React, { useEffect, useState } from "react";
import Head from "next/head";
import JSZip from "jszip";
import { saveAs } from "file-saver";

import styles from "../styles/Home.module.css";

export default function Home() {
  const [files, setFiles] = useState(null);
  const [loading, setLoading] = useState(false);

  const getFiles = async () => {
    const res = await fetch("/api/files");
    const files = await res.json();

    setFiles(files);
  };

  useEffect(() => {
    getFiles();
    // eslint-disable-next-line react-hooks/exhaustive-deps
  }, []);

  const downloadResourcesOnClick = async () => {
    setLoading(true);
    try {
      const zip = new JSZip();
      const remoteZips = files.map(async (file) => {
        const response = await fetch(file.url);
        const data = await response.blob();
        zip.file(`${file.name}.${file.type}`, data);

        return data;
      });

      Promise.all(remoteZips)
        .then(() => {
          zip.generateAsync({ type: "blob" }).then((content) => {
            // give the zip file a name
            saveAs(content, "zip-download-next-js.zip");
          });
          setLoading(false);
        })
        .catch(() => {
          setLoading(false);
        });

      setLoading(false);
    } catch (error) {
      setLoading(false);
    }
  };

  return (
    <div className={styles.container}>
      <Head>
        <title>Generate ZIP with file links in Next JS</title>
        <meta
          name="description"
          content="How to generate ZIP with file links in Next JS and React JS"
        />
        <link rel="icon" href="/favicon.ico" />
      </Head>

      <main className={styles.main}>
        <h1 className={styles.title}>
          Generate ZIP with file links in Next JS
        </h1>

        <button
          onClick={downloadResourcesOnClick}
          className={styles.button}
          disabled={loading}
        >
          Download The Zip
        </button>
      </main>
    </div>
  );
}
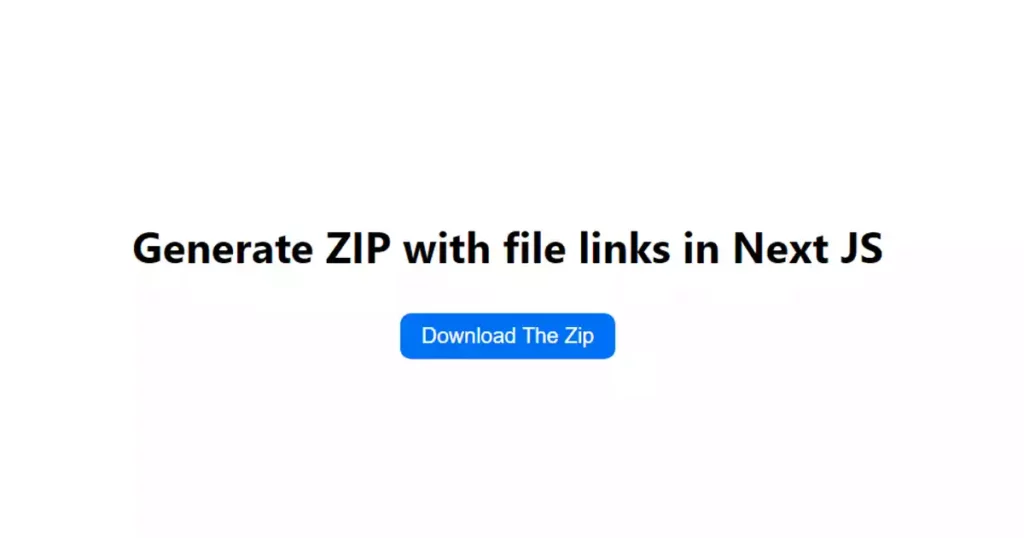
You can find the code on GitHub. You can also check the Demo of this project. Here is the screenshot of the UI for the Next JS project.
Download ZIP in React JS
The download function for a React JS project will be the same as Next JS. We can use the same packages for this as well. But we need to create the API separately here. Although we can use the Next JS API for the API creation process and use the API in the React JS project
You may also like
Next JS vs React: Which One Should You Choose?

Aug 30, 2025
·4 Min Read
When it comes to building web applications, React is one of the most popular frameworks out there. But with the emergence of Next JS, many developers are left wondering which one they should choose. In this article, we’ll see Next JS vs React to help you decide which one is best for your project. Next.js […]
How to add Styled components in Next.js App router

May 11, 2024
·4 Min Read
Styled components have become a popular choice for styling React applications due to their simplicity and flexibility. When it comes to integrating styled components into a Next.js application, it’s essential to understand how to leverage them effectively within the app router. In this guide, we’ll explore step-by-step how to add styled components to a Next.js […]
How to add Google Web Stories in Next JS

Dec 14, 2023
·10 Min Read
In the fast-paced digital world, user engagement is key to the success of any website. One effective way to captivate your audience is by incorporating Google Web Stories into your Next JS website. These visually appealing and interactive stories can make your content more engaging and shareable. In this comprehensive guide, we’ll walk you through […]
How to send Emails in Next JS for Free using Resend

Nov 10, 2023
·7 Min Read
Sending emails in web applications is a crucial feature, and in this article, we will explore how to send Emails in Next JS for free using Resend. Next JS is a popular framework for building React applications, and Resend is a handy tool for email integration. By the end of this guide, you’ll have the […]
How to add Google Login in Next.js with Appwrite

Nov 01, 2023
·7 Min Read
Are you looking to enhance user authentication in your Next.js application? Integrating Social Login with Appwrite can be a game-changer. Add Google Login to your Next.js app with Appwrite. This article will guide you through the process, and practical tips to add Google Login in Next.js with Appwrite. GitHub Code: Google Login in Next.js with […]
How to add Protected Routes in Next JS

Oct 28, 2023
·5 Min Read
In the world of web development, security is paramount. Whether you are building a simple blog or a complex web application, protecting certain routes and pages from unauthorized access is a crucial step. In this comprehensive guide, we will walk you through the process of adding protected routes in Next JS, ensuring that your web […]